Static Website: Azure + Rclone

I recently switched ultramookie.com and hellomookie.com from being served on a nginx server to Azure Storage, I wanted to write up how I did it for reference. While the process is straight-foward, the official documentation is a bit sparse.
Also, I found that using Rclone is a better way of synchronizing files to Azure Storage. A while ago, I had been hosting my sites on Azure Storage, but was using azcopy to sync files. There was a lot of friction using azcopy because of the constant need to authenticate. Rclone is nice because it uses a storage access key for authentication, making the whole process of updating a static website as easy as using rsync with ssh.
Using Azure Storage for serving static websites makes my life easier because I don’t have to manage yet-another-server, worry about monitoring, and I have instant scalability if there is a surge of traffic. I also don’t have to pay for a VPS to run nginx, I only pay for storage and network bandwidth – which is great because my site is tiny and I don’t get much traffic (sadly I don’t have many visitors and those that do visit are generally served out of the CDN fronting my website, Cloudflare).
Azure
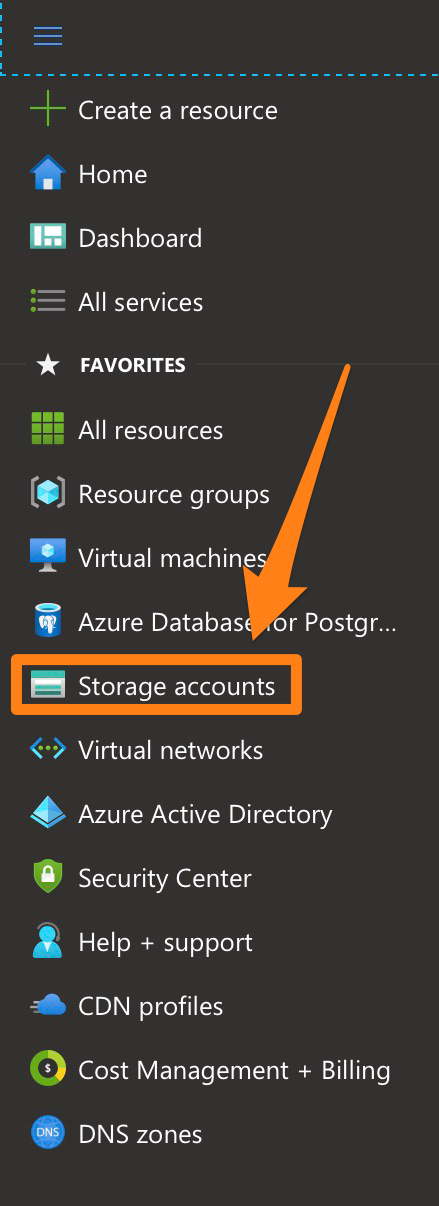
The first thing is to create a storage account.
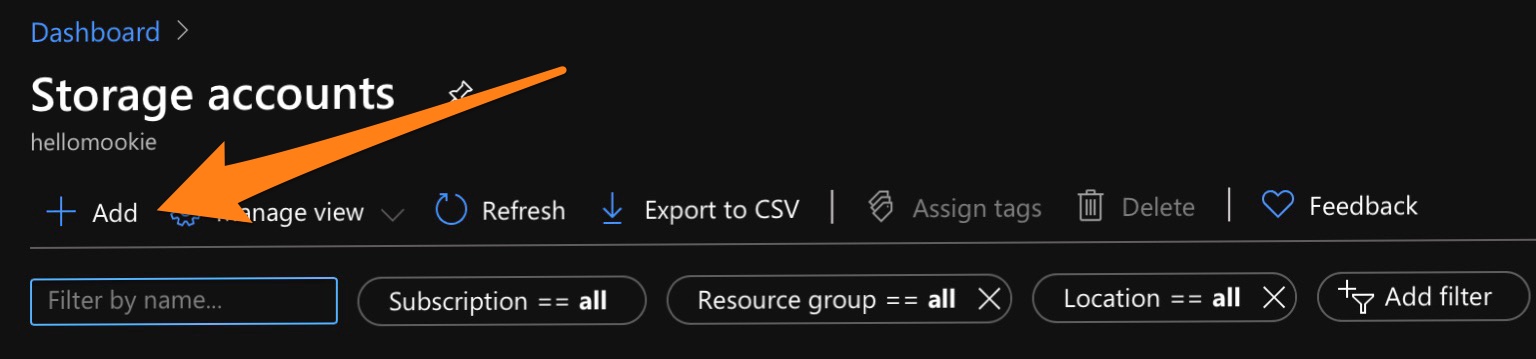
Use the +Add to start the process.

There is no need to visit any of the other tabs on this page unless you need advanced configurations – the defaults work fine.
If you don’t already have a Resource group, create a new one. It is good to keep resources grouped for easier management.
Enter a creative Storage account name and select a Location (based on your preferences). The Account kind should be left as-is (StorageV2). For Replication, if you’re already backing up your static website, you can use LRS (Local Redundant Storage) to keep your costs down.
Hit Review + create and wait for Azure to provision your new storage account.
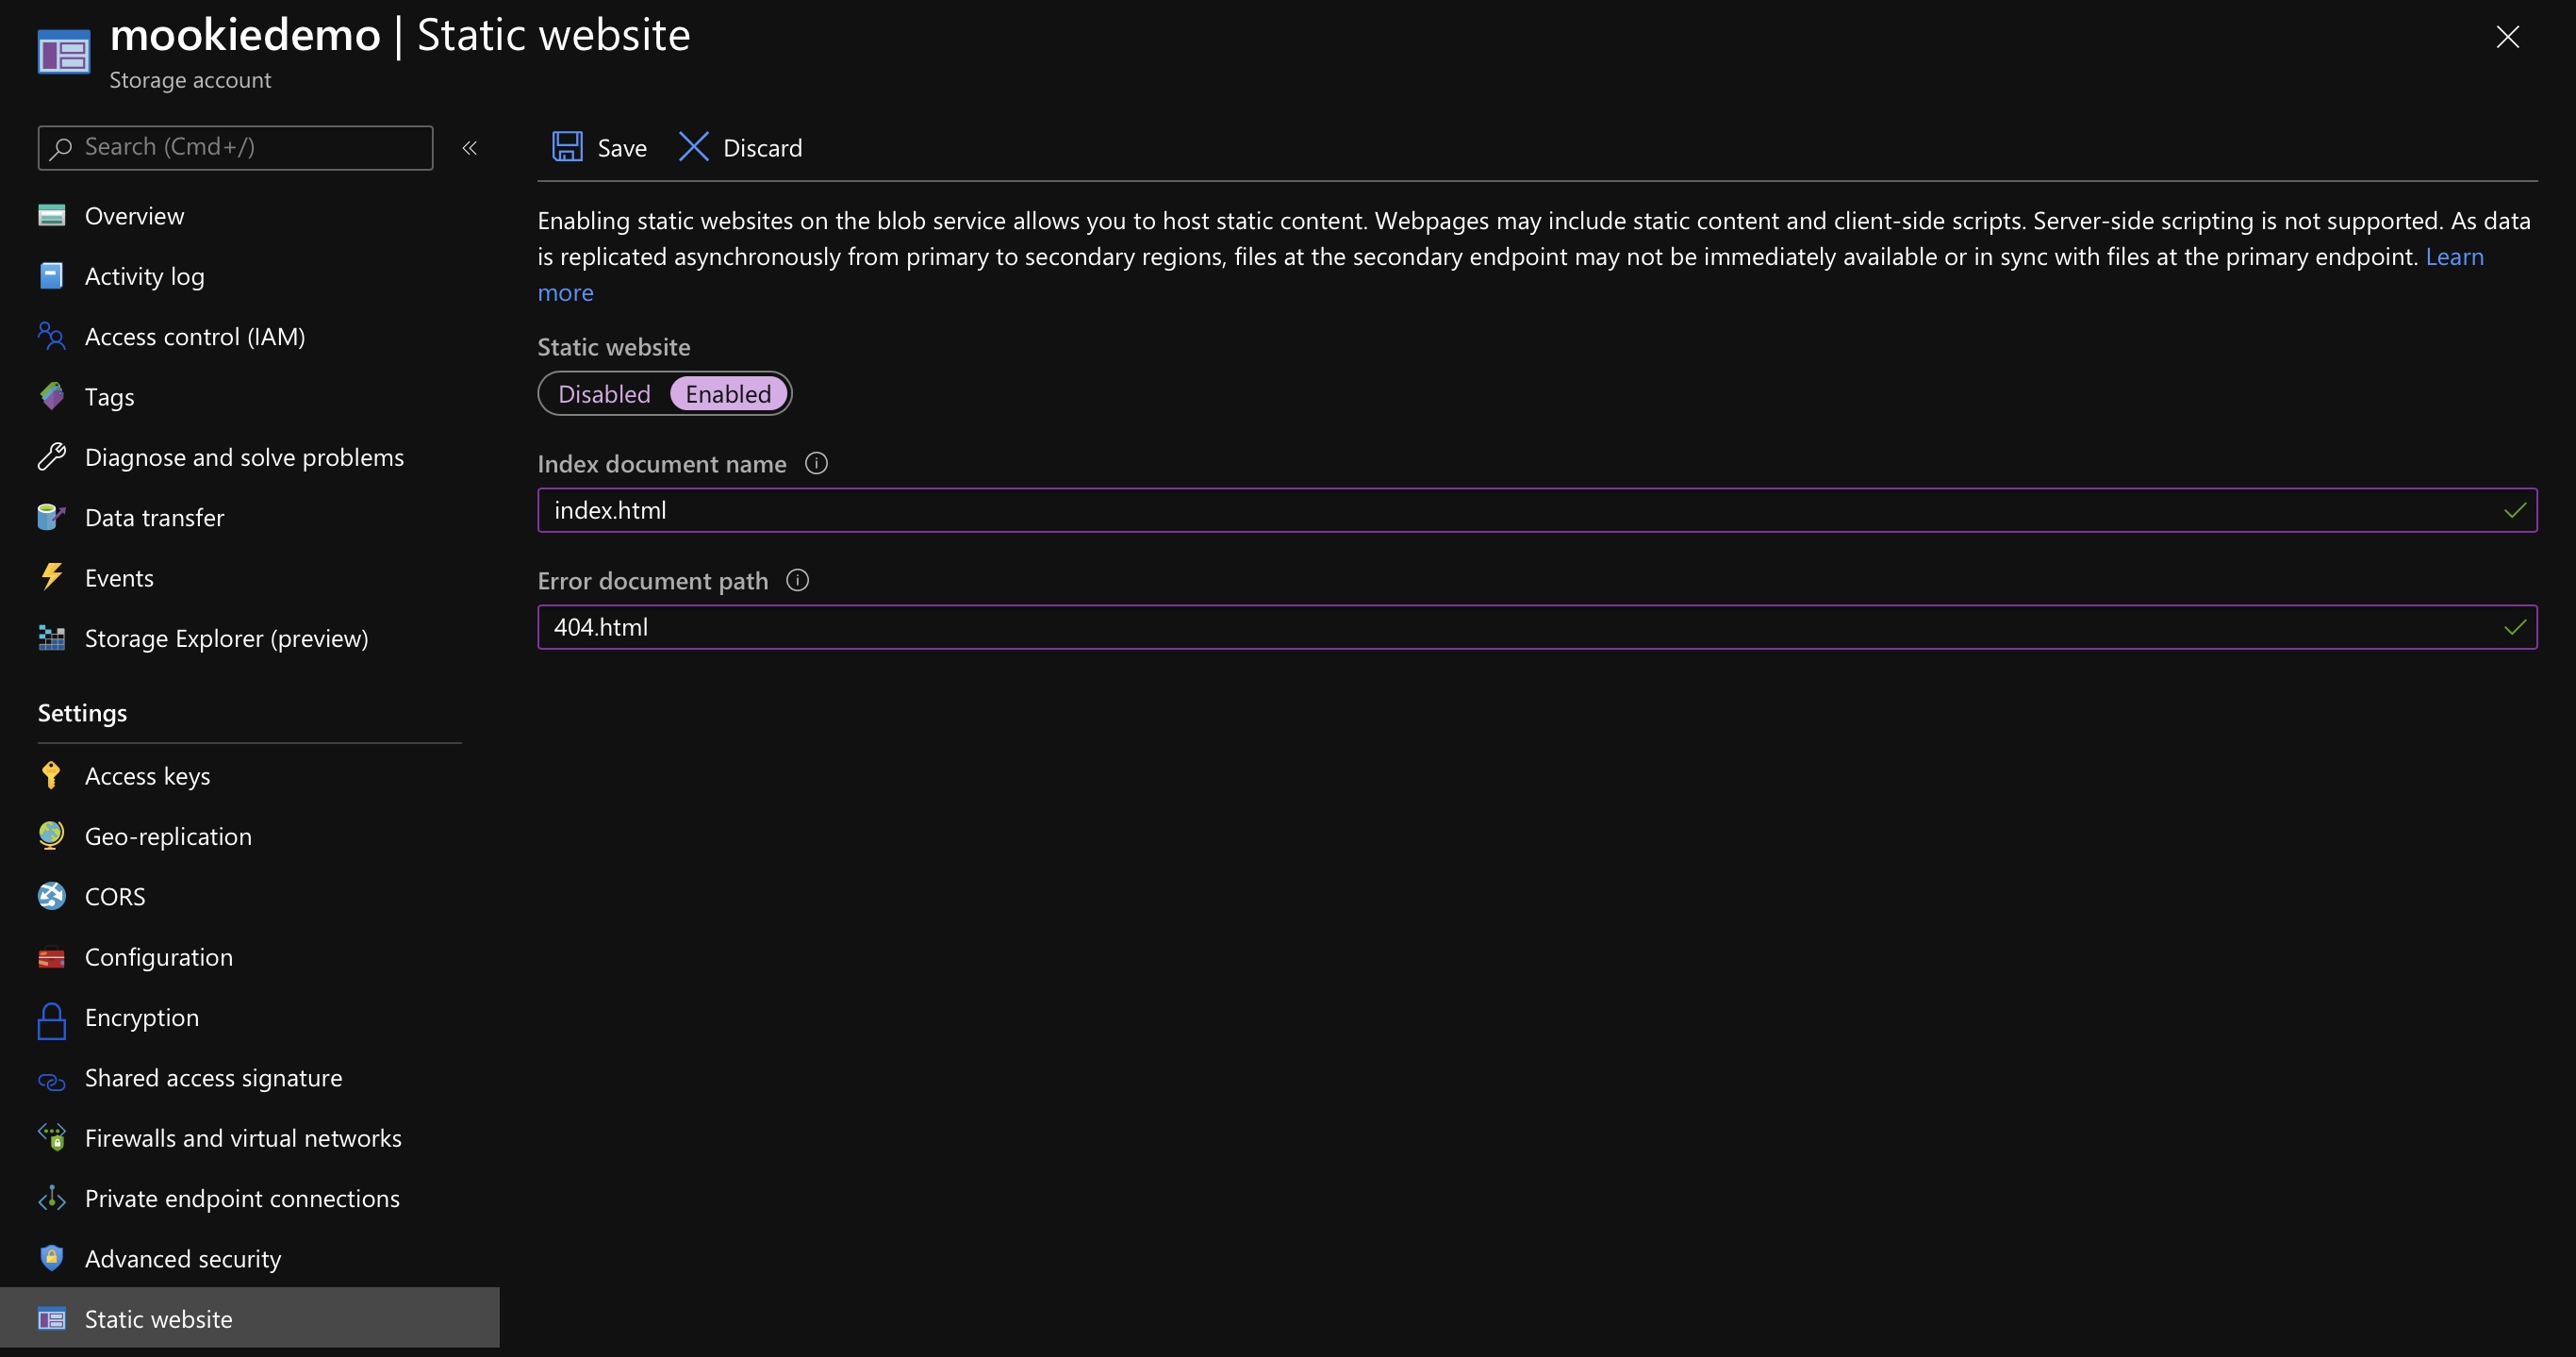
Select Static website from the sidebar. Click Enabled to turn on static website service.
Configure your default Index and Error document names. This is important for Hugo users as Hugo creates links that do not include index.html in the URL.
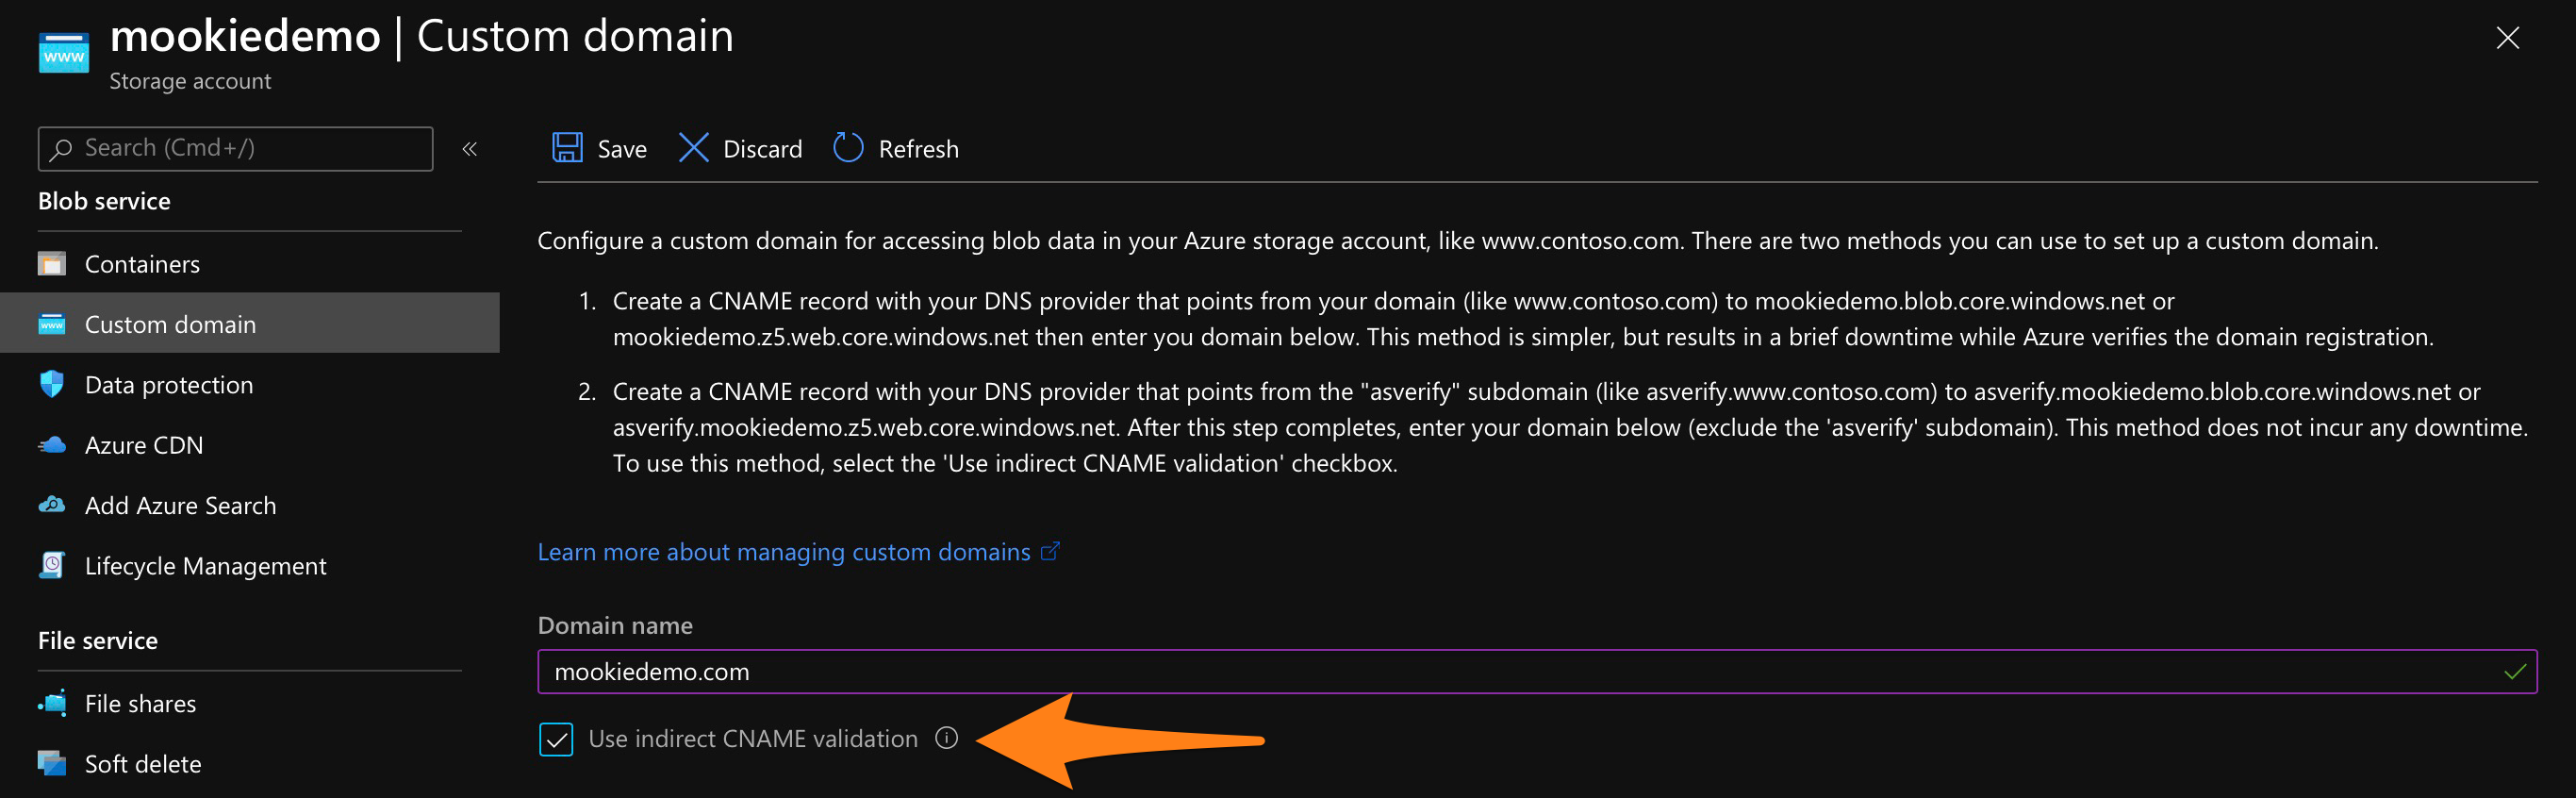
Select Custom domain from the sidebar.
Enter your domain name.
I use Cloudflare for DNS and CDN. Cloudflare makes it easy to setup a CNAME to the root of my domain because it does CNAME flattening.
I found it easier to do the validation using the indirect CNAME validation, YMMV.
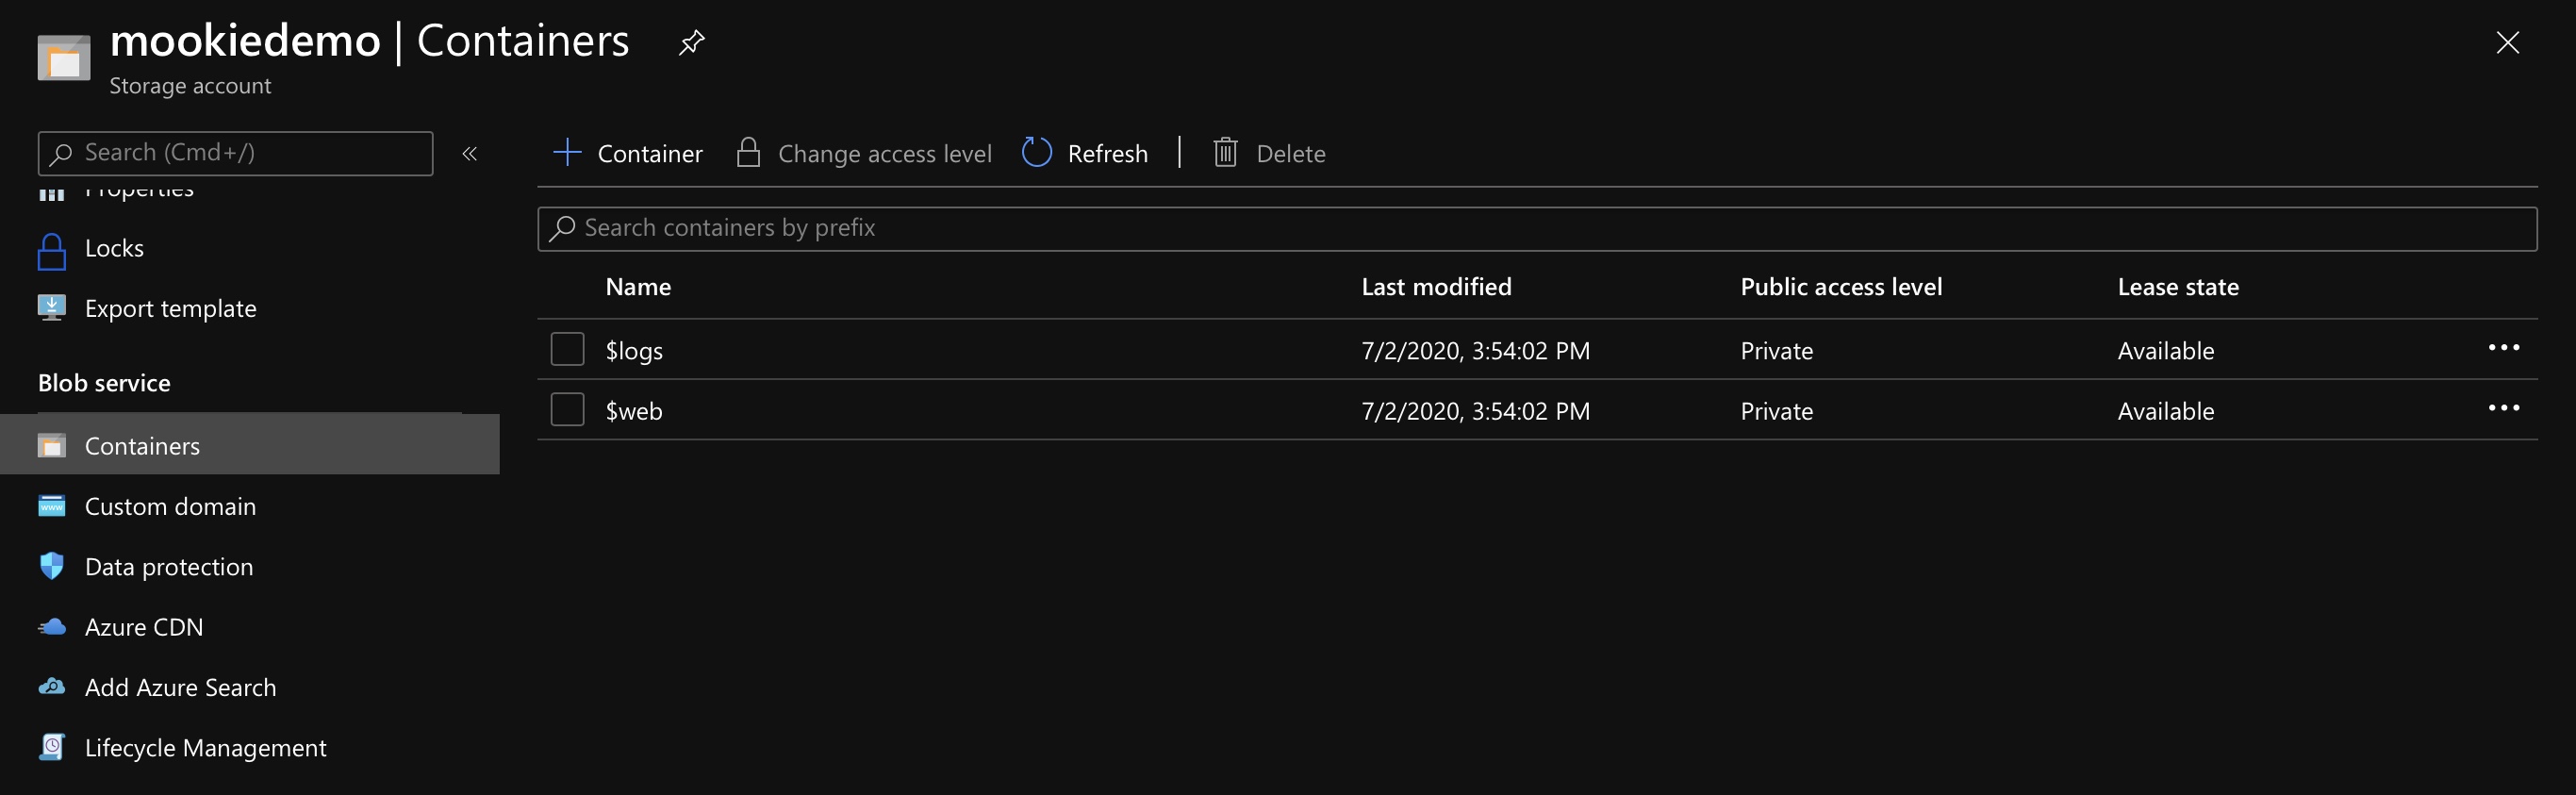
Once all the above have been completed, you can check in Containers to see if the $web container exists. That is where all your static website files will reside.
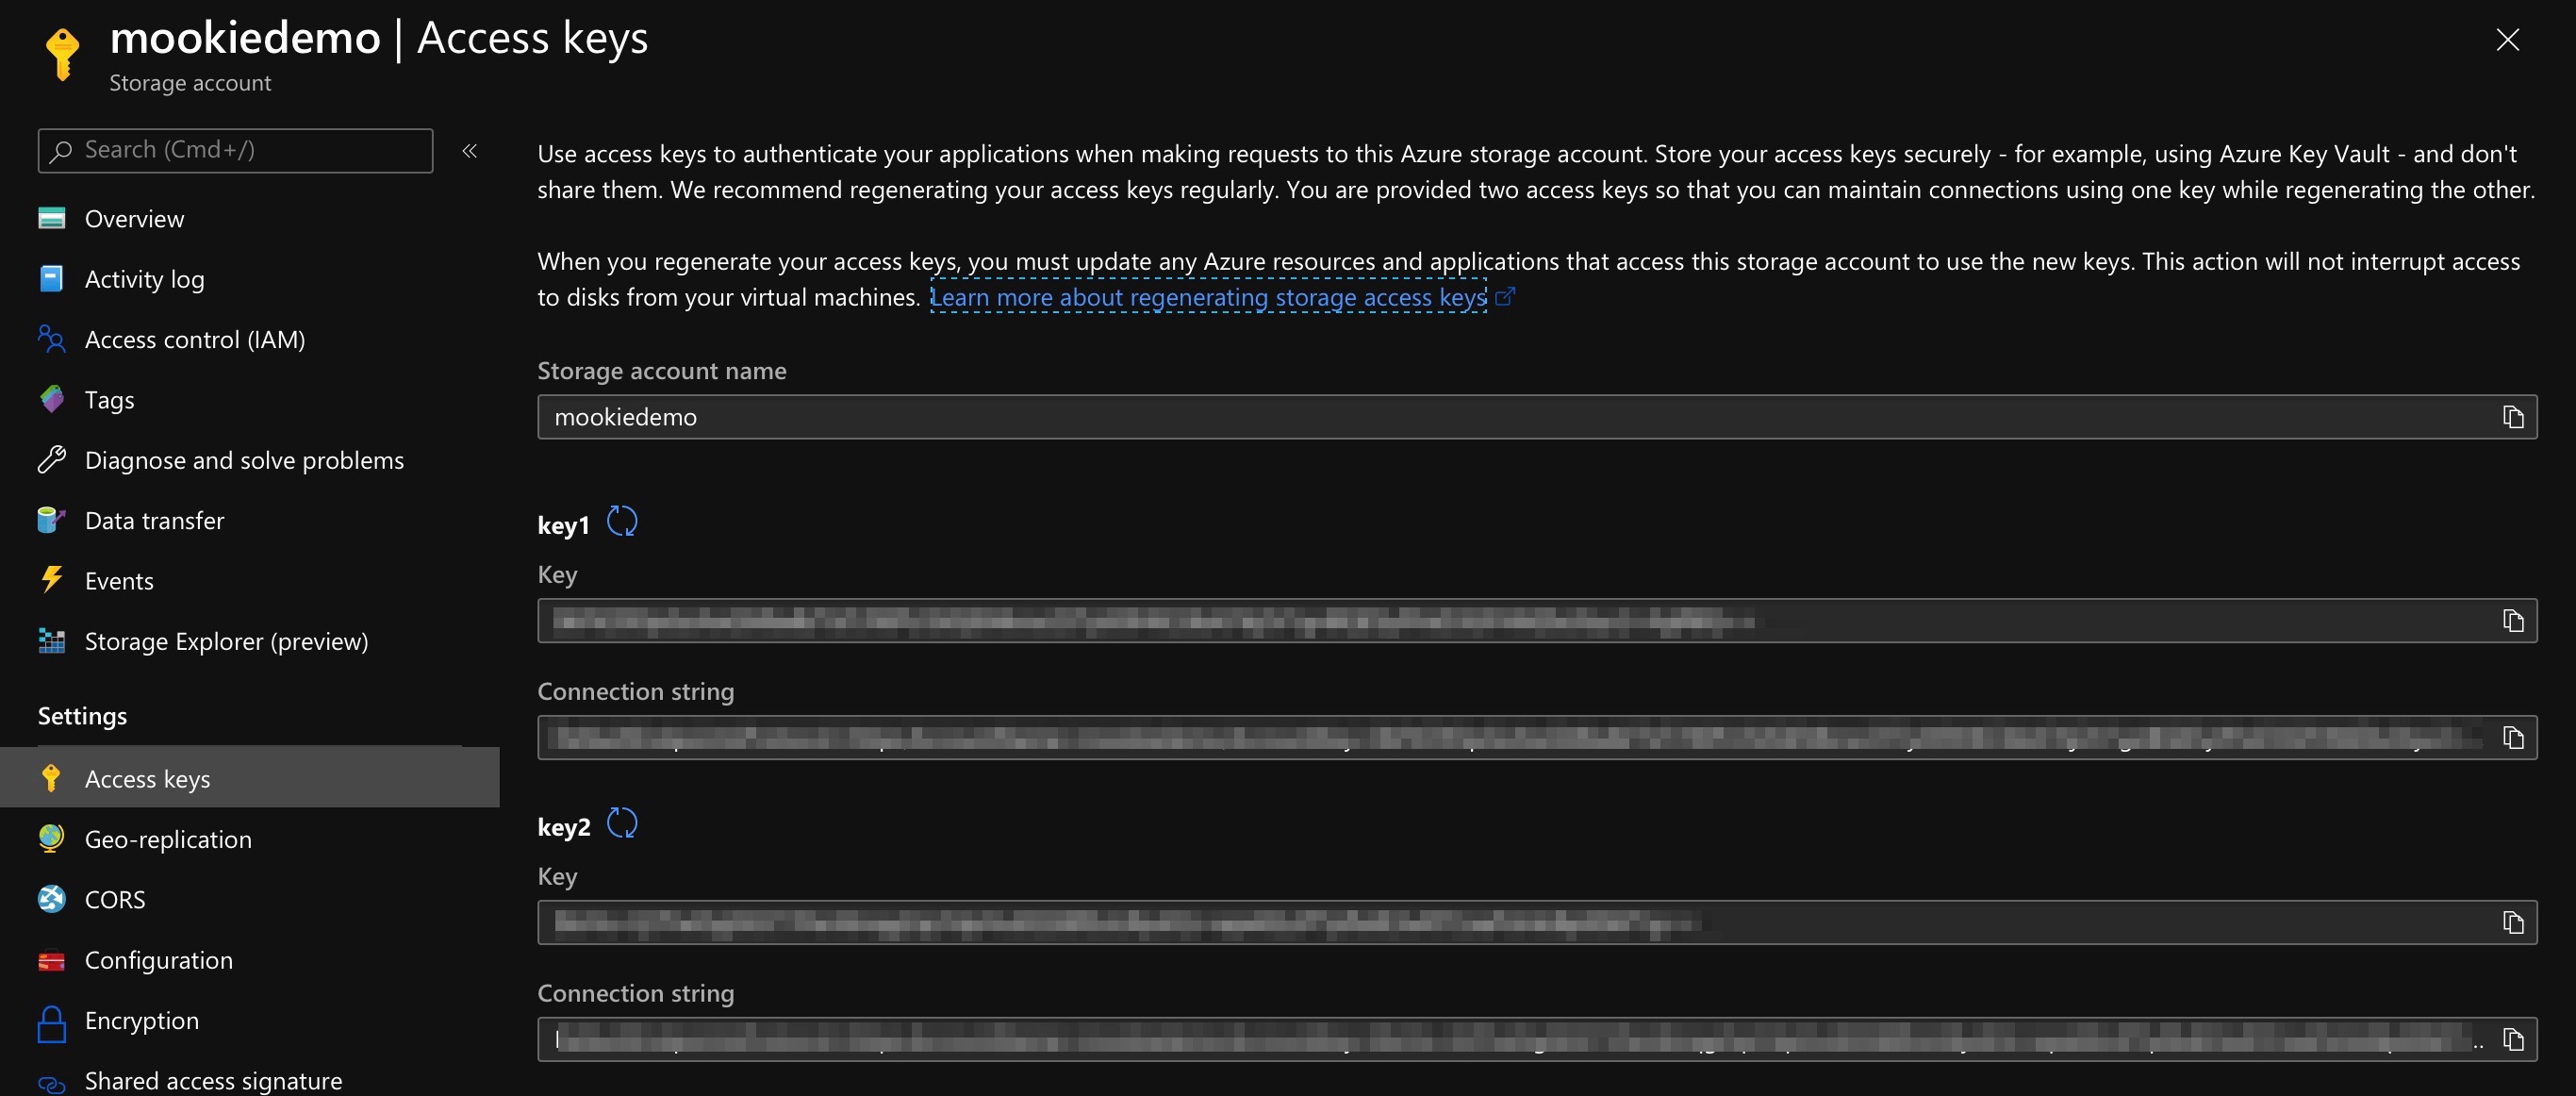
To get setup for Rclone, we will have to grab an access key.
Click Access keys on the sidebar.
From there, you will see two keys. Either one will work. Copy the Key. Don’t worry about the Connection string as it is not needed.
Rclone
If you have not installed Rclone yet, on Ubuntu systems run:
sudo apt install rclone
After installation, we will need to configure Rclone for your new Azure Storage account:
rclone config
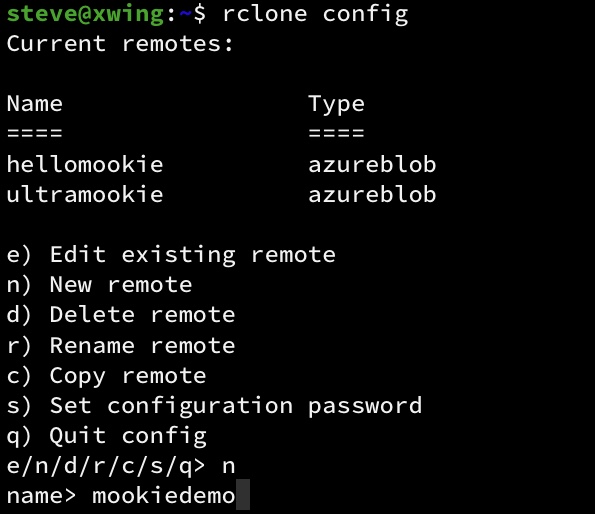
Use option n to add a new remote.
It will ask you for a name, enter a descriptive name here (for the demo, I used mookiedemo, the same as the Storage Account name, but it can be anything).
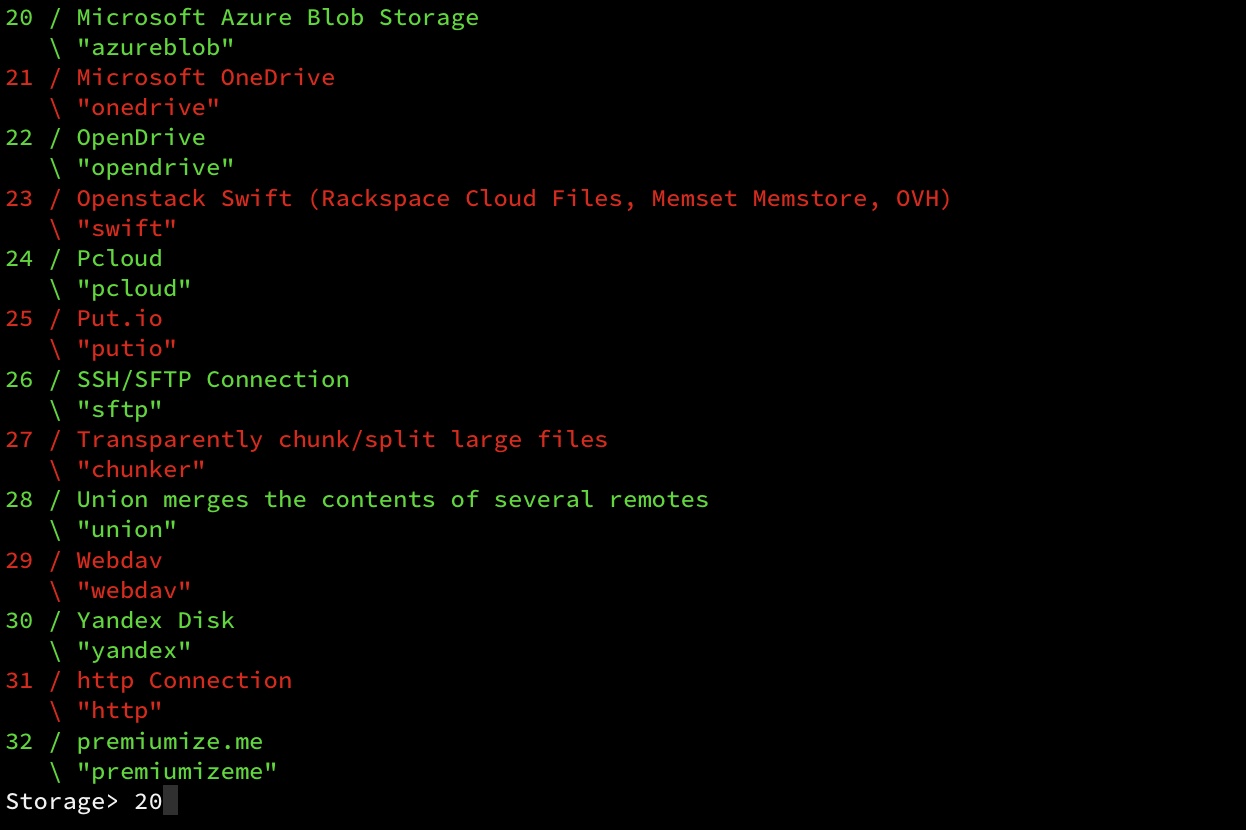
Next, you’ll be asked to select a remote type, look for Microsoft Azure Blob Storage and use that.
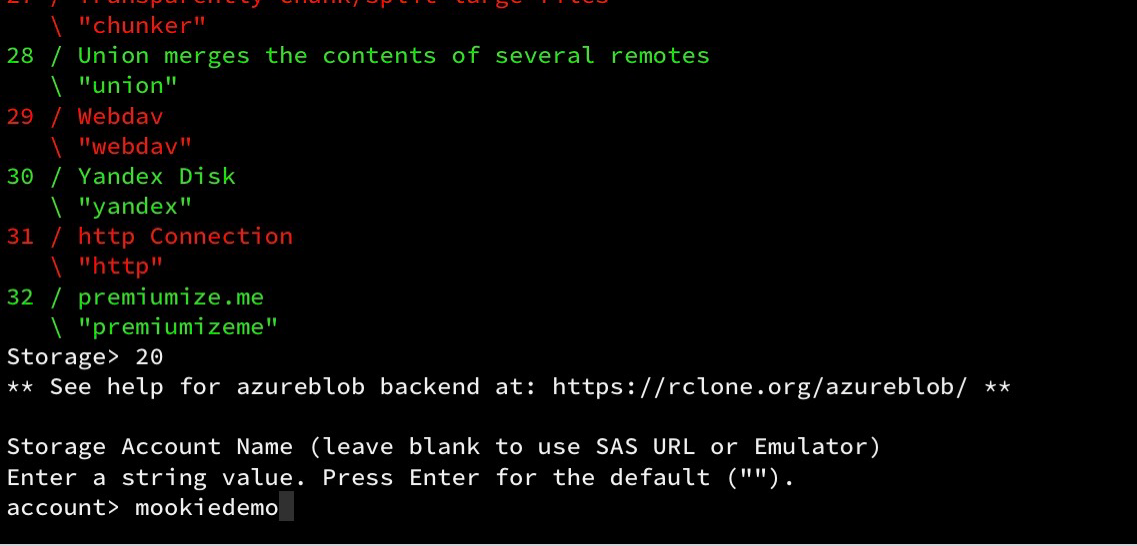
It will ask you for the Storage Account Name next, enter the name of your Azure Storage account (for my demo it was mookiedemo).
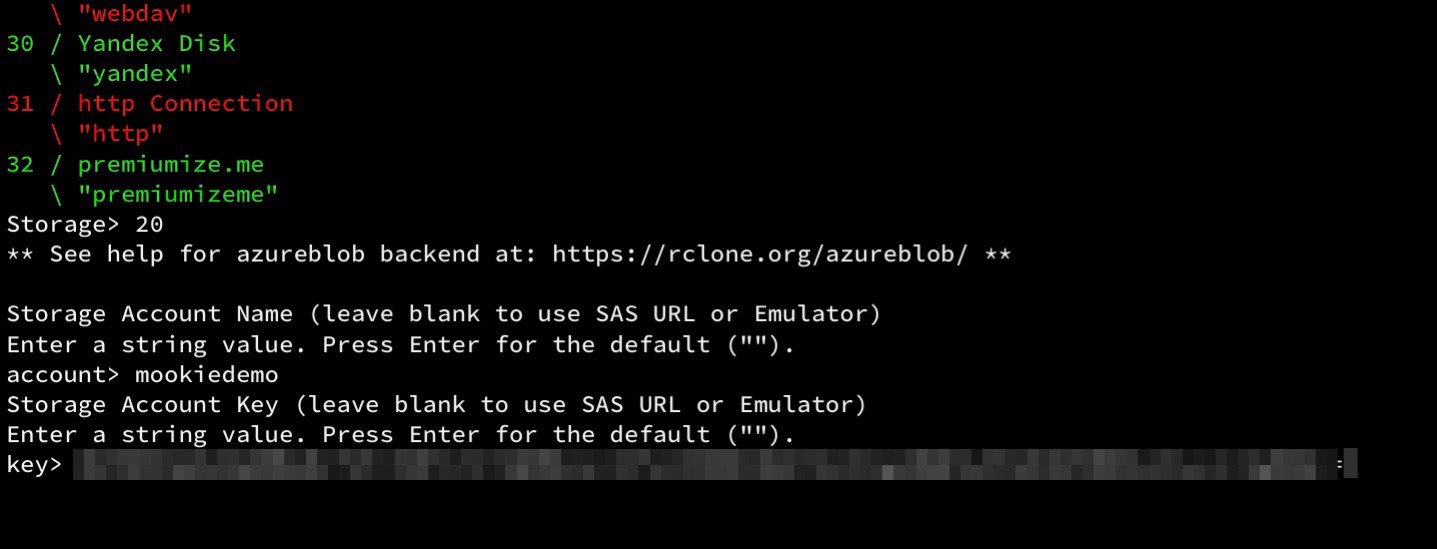
The final piece of information Rclone needs is the Storage Account Key which you got from above. Enter that here.
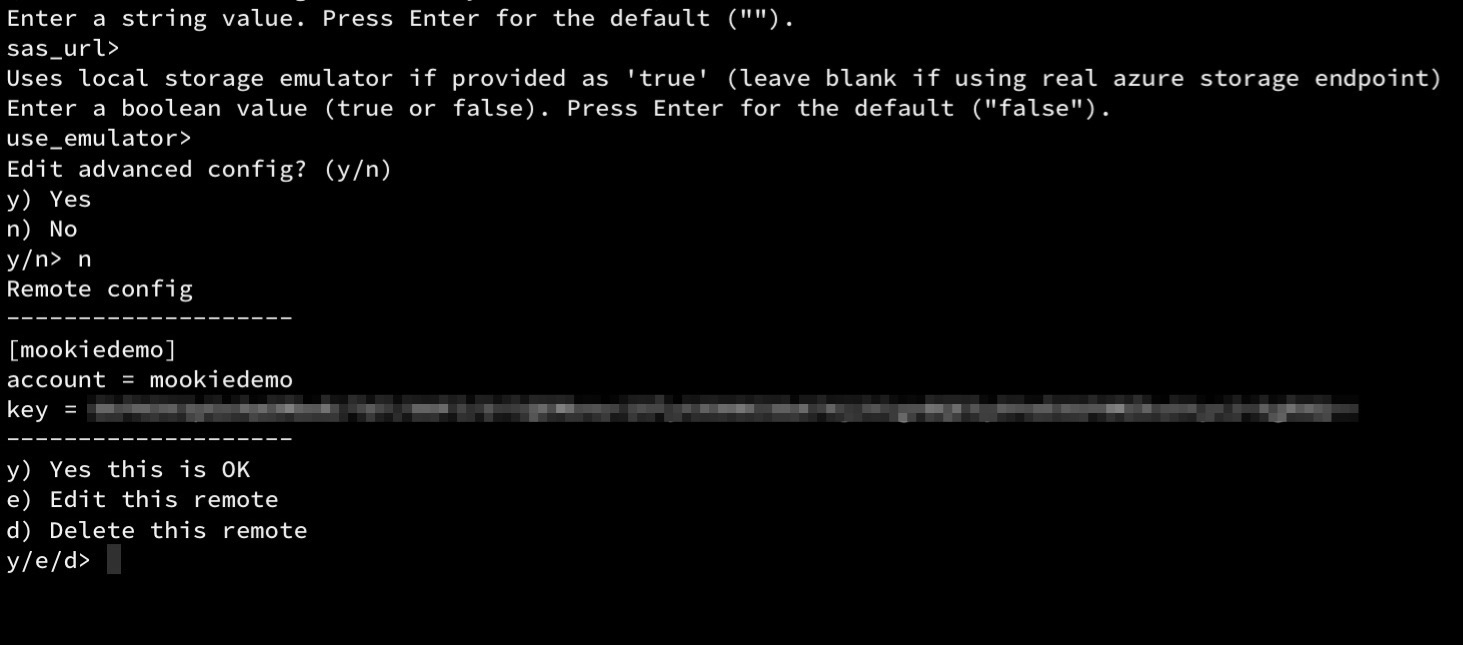
Leave the rest of the options blank and skip the advanced config options.
Now Rclone is configured!
Synchronization
To sync your static website files to your new Azure Storage account:
rclone sync /path/to/your/site/ rclone_name_for_remote:\$web
For example if my static website lived locally in /home/mookie/public and I setup Rclone like above, then I would use:
rclone sync /home/mookie/public/ mookiedemo:\$web
You should be able to visit your website and see that it is up.
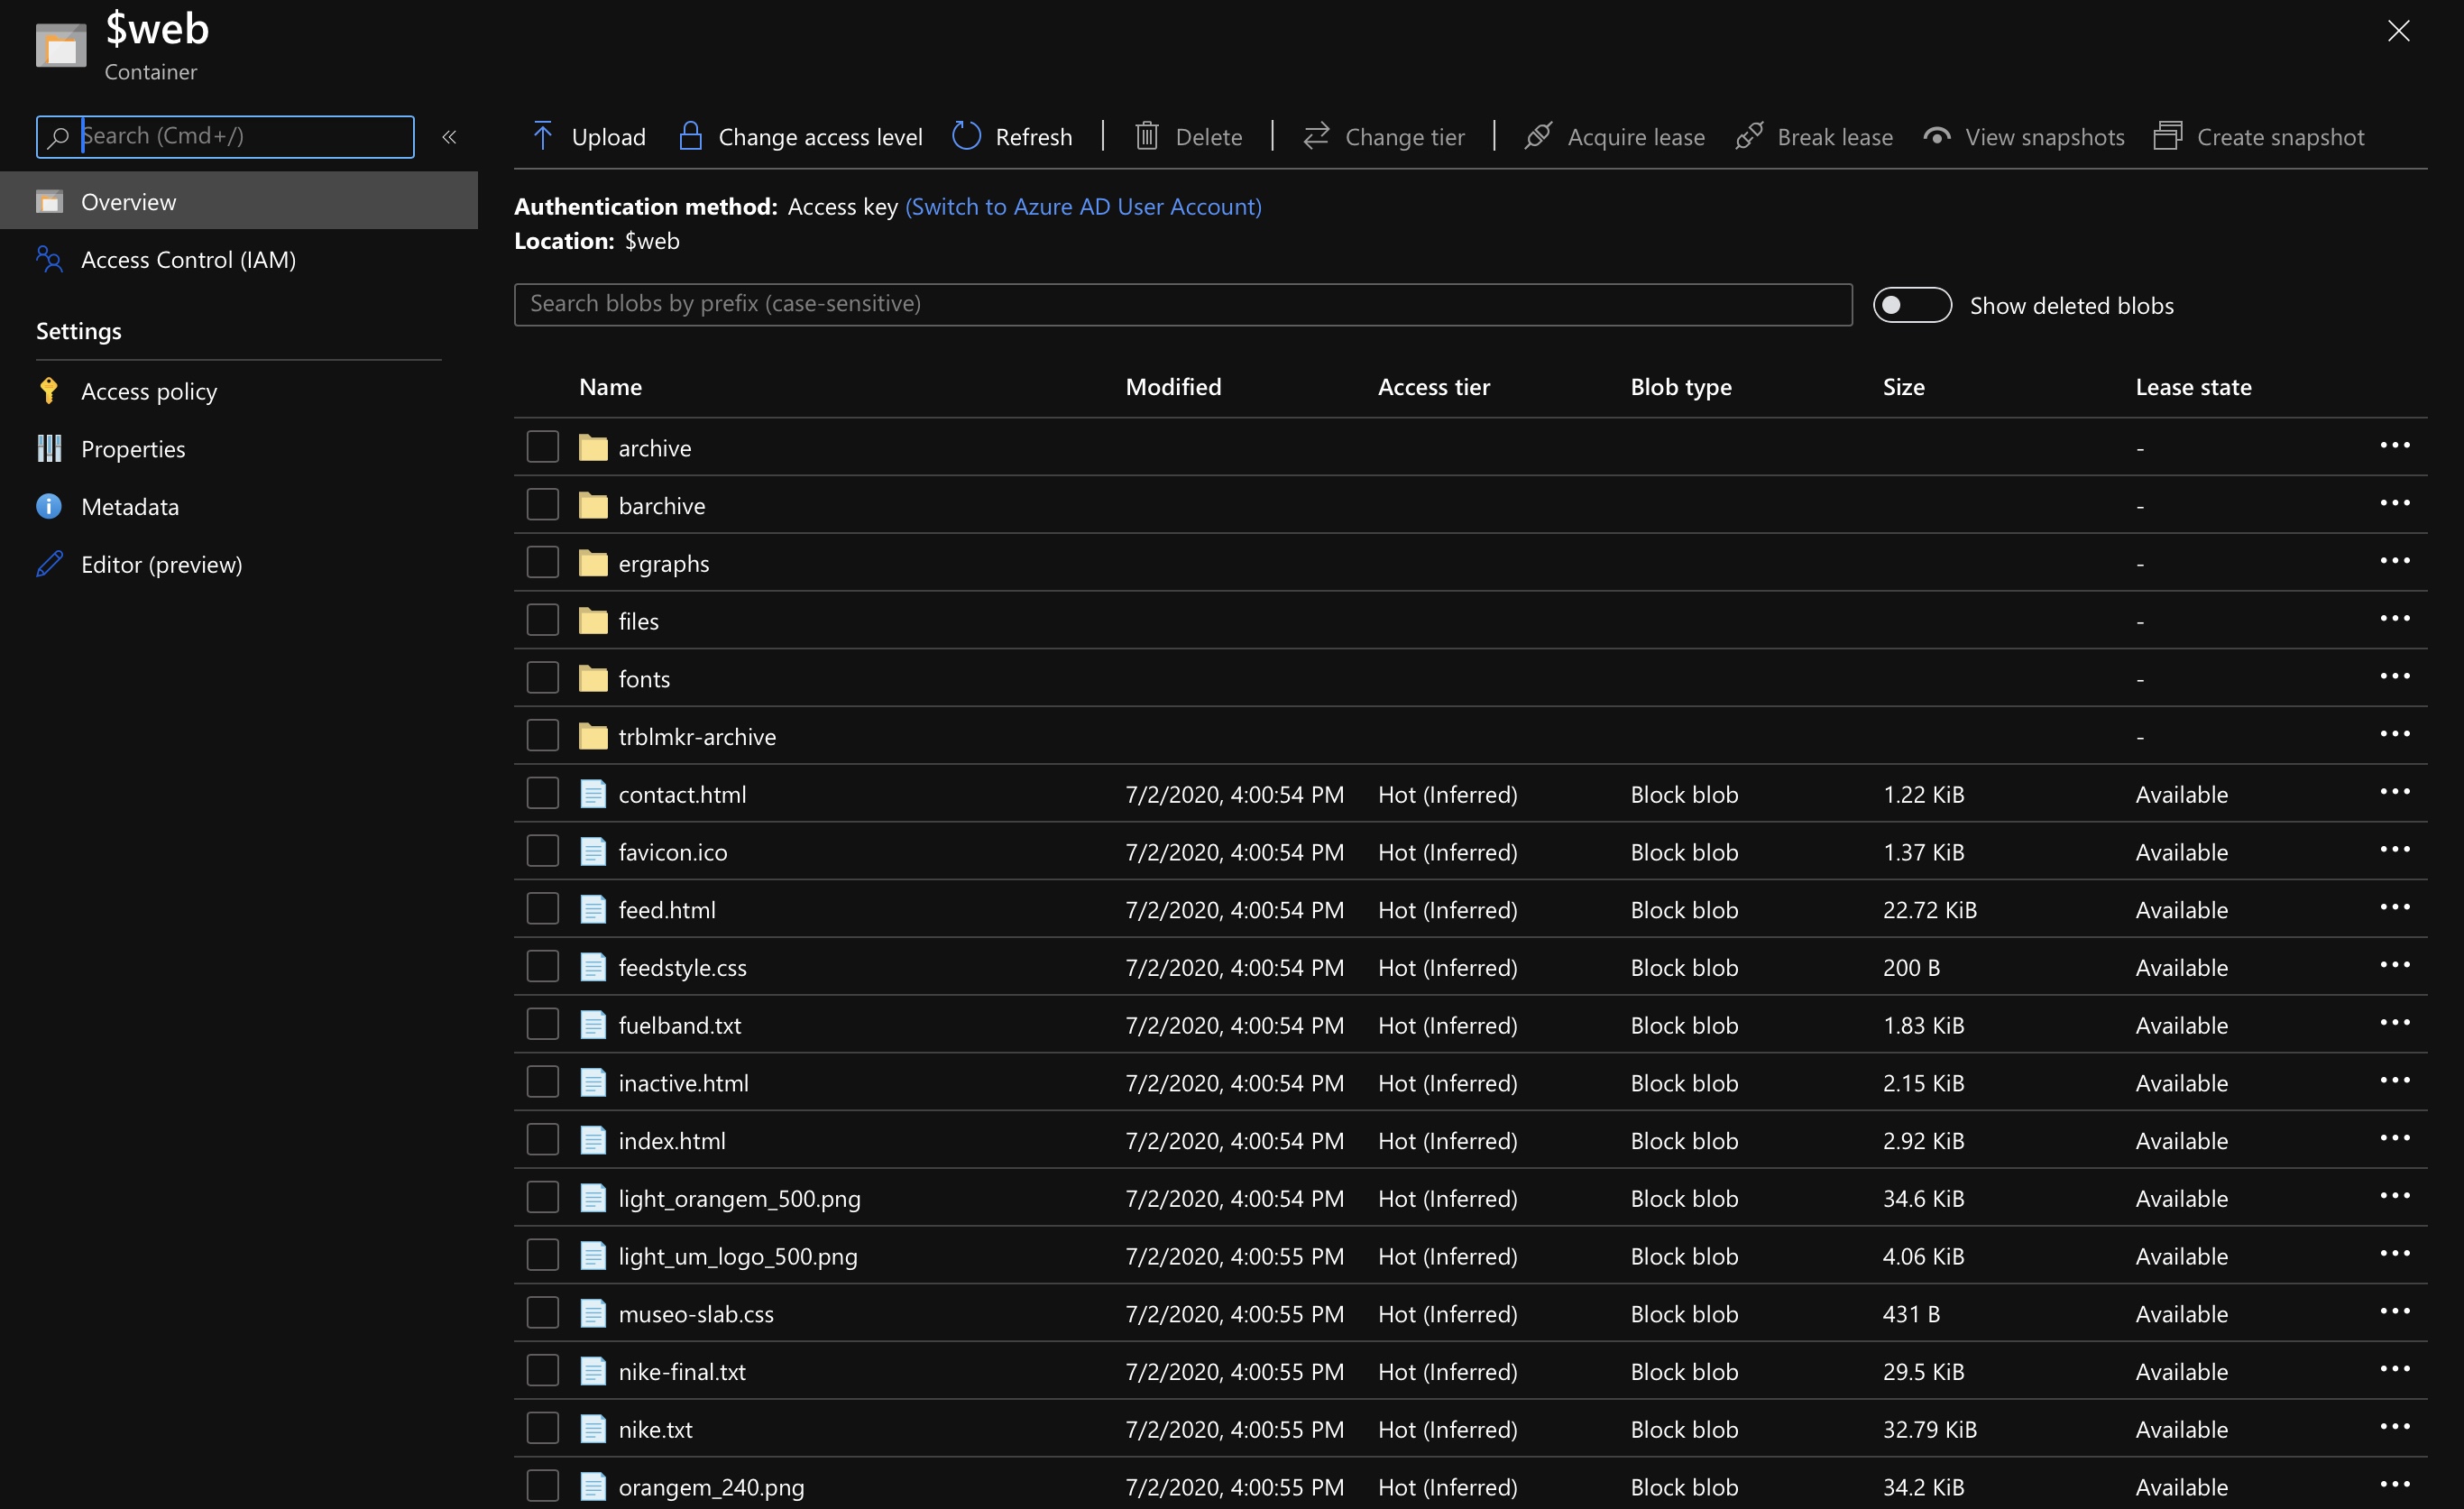
You can check that files are in the $web container in the Azure Portal (above screenshot) or using Rclone:
rclone ls rclone_name_for_remote:\$web
That’s it. Enjoy!